Today I'll teach you how to make an attractive typographs in a very less time.
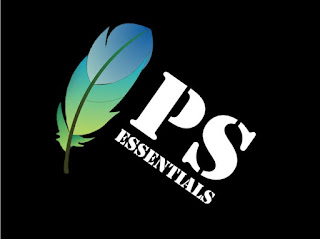
FINAL IMAGE PREVIEW

Step 1
Create a new document at 1200 x 800 pixels with a resolution of 72dpi. Start off by importing all of your vector designs separately into a Photoshop canvas. In this case we divided our vectors into 3 separate smart objects and dragged them into the Photoshop canvas.
Step 2
Hide all vectors and create a new text box. In this case I typed out the name of our company, "Ps Essentials". The font we chose was "Tahoma". Keep your font in full caps, especially if your using this one! Continue to copy/paste your text across the text box.
 Step 3
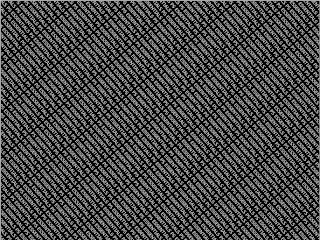
Continue to copy/paste the text until it fills the entire canvas. Stretch the box out using the text tool until it expands beyond the canvas size.
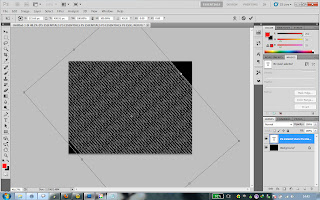
Step 4
Once the text box is filled completely with the copy begin to rotate the box clockwise in about a 45 degree angle.
 Step 5
Rasterize the text layer and hide it. Make the vector layers visible now. Hold ctrl and click on any of the vector layers so that the vector outline gets selected. Hide the vector layer and unhide + select the rasterized text layer so that a marching ants outline of the vector gets selected on the text layer.
 Step 6
Cut the selected area and paste it on a new layer. Position the new layer in such a way that it gets matched to the original position of the cutted portion. For the new layer: Blending options > Color overlay. Overlay the layer with and color of your choice so that it looks good with the background (white in our case)
 Step 7
Do the same with your other vector objects and overlay them with different colors to give the typography a vibrant look.
Step 8
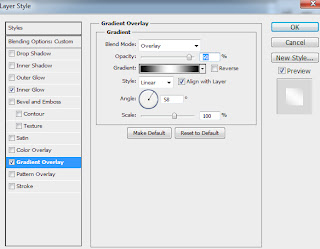
Create a new layer and place it on the top of all the other layers. For this layer: Blending Options > Gradient overlay.
select the following settings to give the image a final look


 Step 9
flatten the image to make it in-editable.
FINAL IMAGE
have a nice day! :)
FINAL IMAGE PREVIEW

Create a new document at 1200 x 800 pixels with a resolution of 72dpi. Start off by importing all of your vector designs separately into a Photoshop canvas. In this case we divided our vectors into 3 separate smart objects and dragged them into the Photoshop canvas.

Step 2
Hide all vectors and create a new text box. In this case I typed out the name of our company, "Ps Essentials". The font we chose was "Tahoma". Keep your font in full caps, especially if your using this one! Continue to copy/paste your text across the text box.

Continue to copy/paste the text until it fills the entire canvas. Stretch the box out using the text tool until it expands beyond the canvas size.
Step 4
Once the text box is filled completely with the copy begin to rotate the box clockwise in about a 45 degree angle.


Rasterize the text layer and hide it. Make the vector layers visible now. Hold ctrl and click on any of the vector layers so that the vector outline gets selected. Hide the vector layer and unhide + select the rasterized text layer so that a marching ants outline of the vector gets selected on the text layer.

Cut the selected area and paste it on a new layer. Position the new layer in such a way that it gets matched to the original position of the cutted portion. For the new layer: Blending options > Color overlay. Overlay the layer with and color of your choice so that it looks good with the background (white in our case)

Do the same with your other vector objects and overlay them with different colors to give the typography a vibrant look.
Step 8
Create a new layer and place it on the top of all the other layers. For this layer: Blending Options > Gradient overlay.
select the following settings to give the image a final look


flatten the image to make it in-editable.
FINAL IMAGE
Comments
Post a Comment